


Bexley’s Room | Home Update
It’s been a busy couple months since buying our first home, and we’ve been working hard on updates! We bought the home from Brandon’s parents (it’s the home he grew up in, awe!) as they’re currently building their new home. I really want to go through and give you guys the full tour, but since Brandon’s folks are still working on finishing their new house, they’re actually not moved out yet! Once they are though, I promise to go through and take many photos for a tour, plus they’ll make great before and after shots!
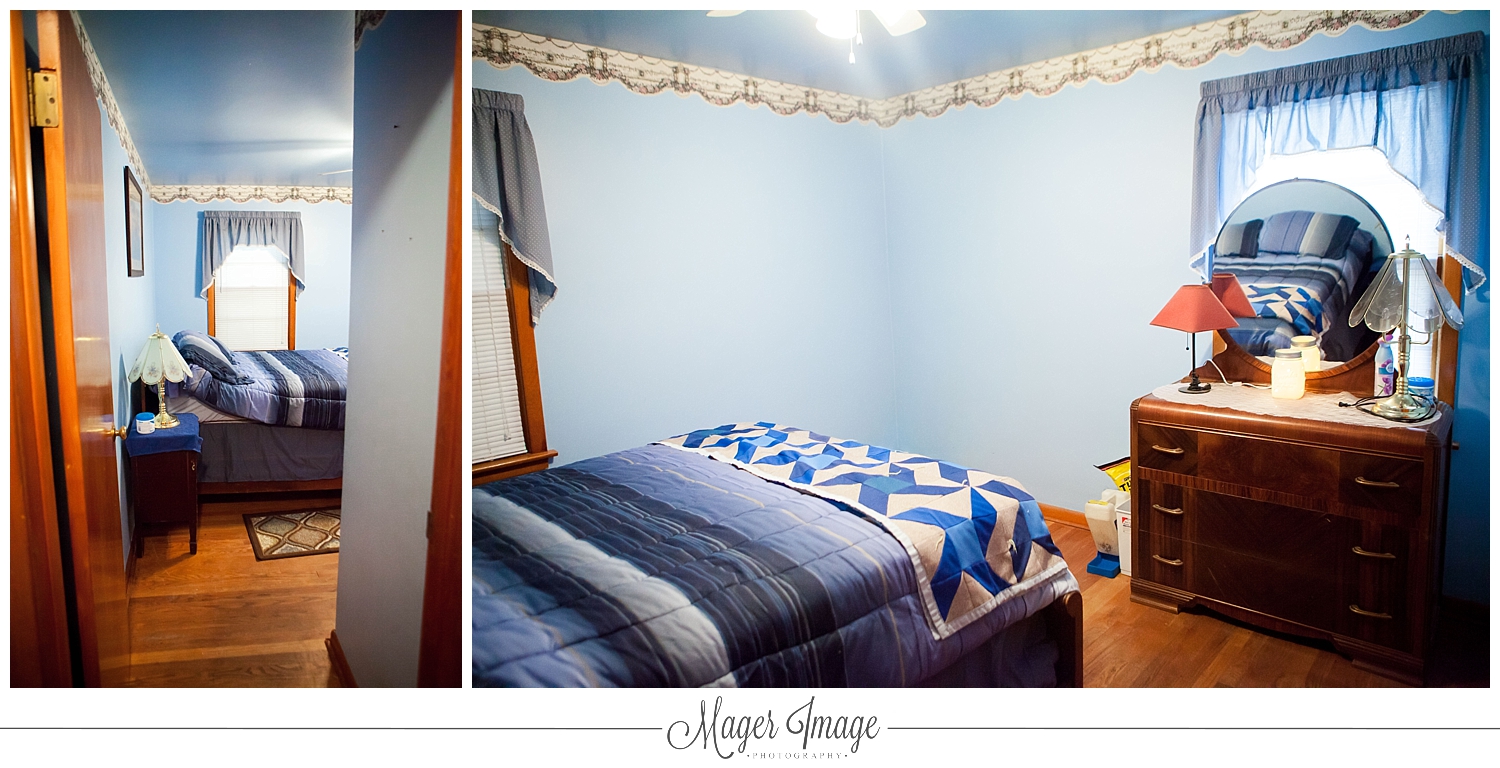
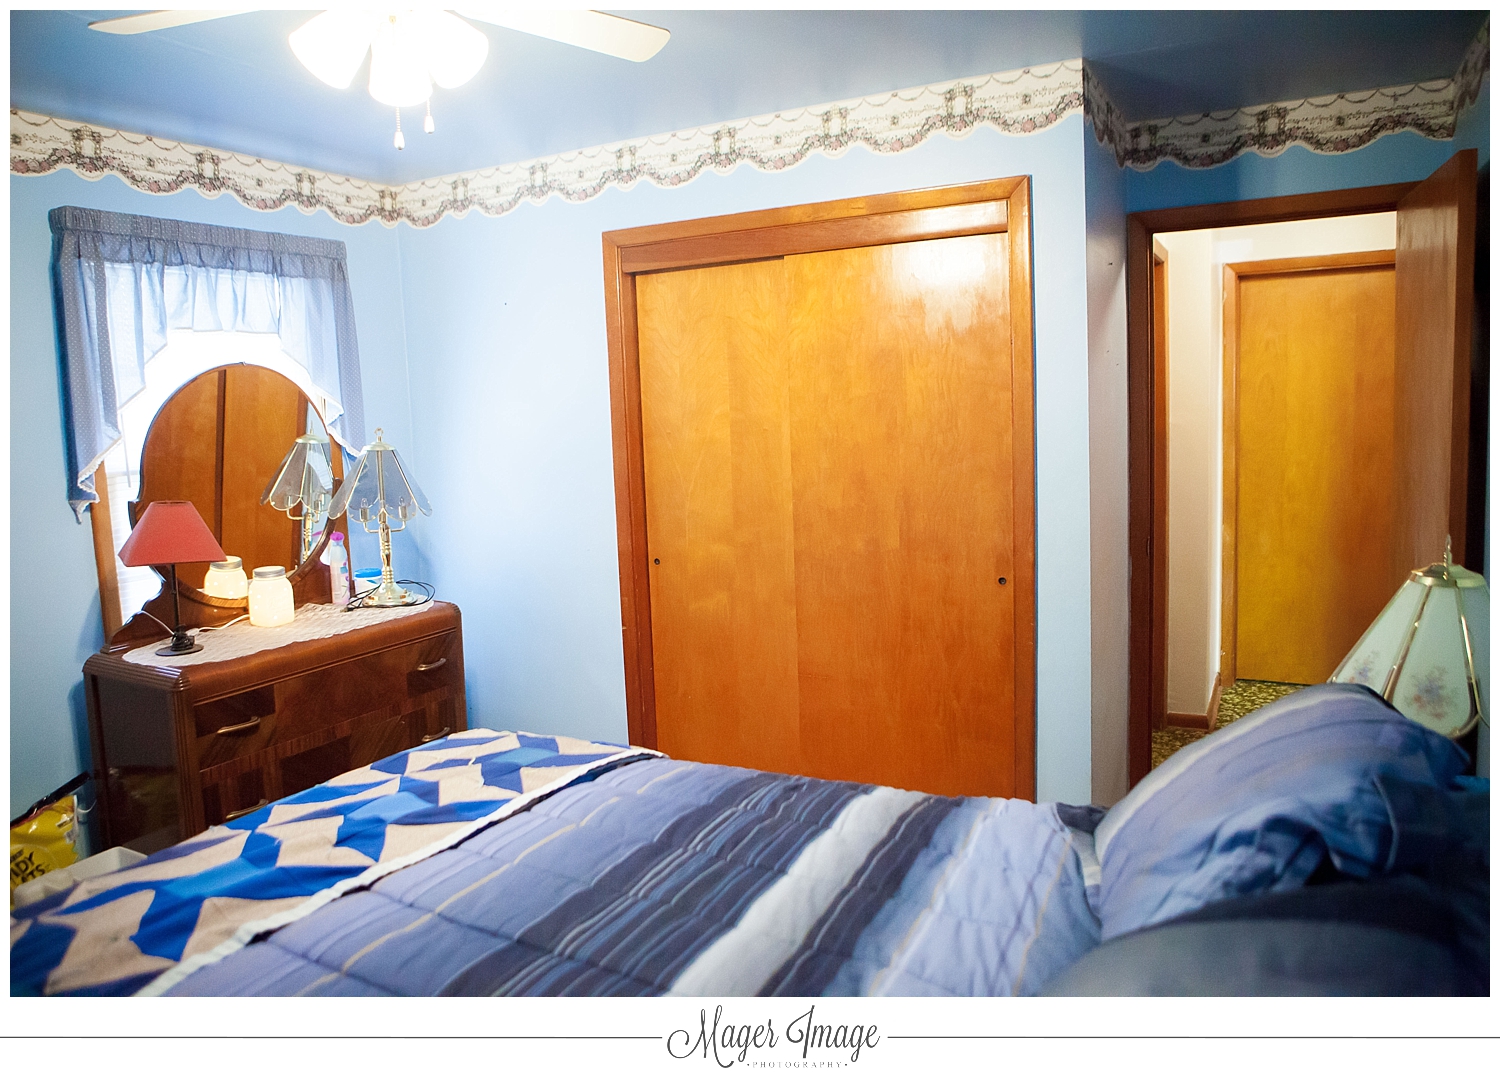
However, they have been gracious enough to allow Brandon and I to work in the guest rooms of the house that they don’t use, so I can give you a little update! The first room we started on was (or will be) Bexley’s room! You may remember the post I did on renovating Bexley’s room in our current house, and you’ll see a lot of similarities because I love it so much.
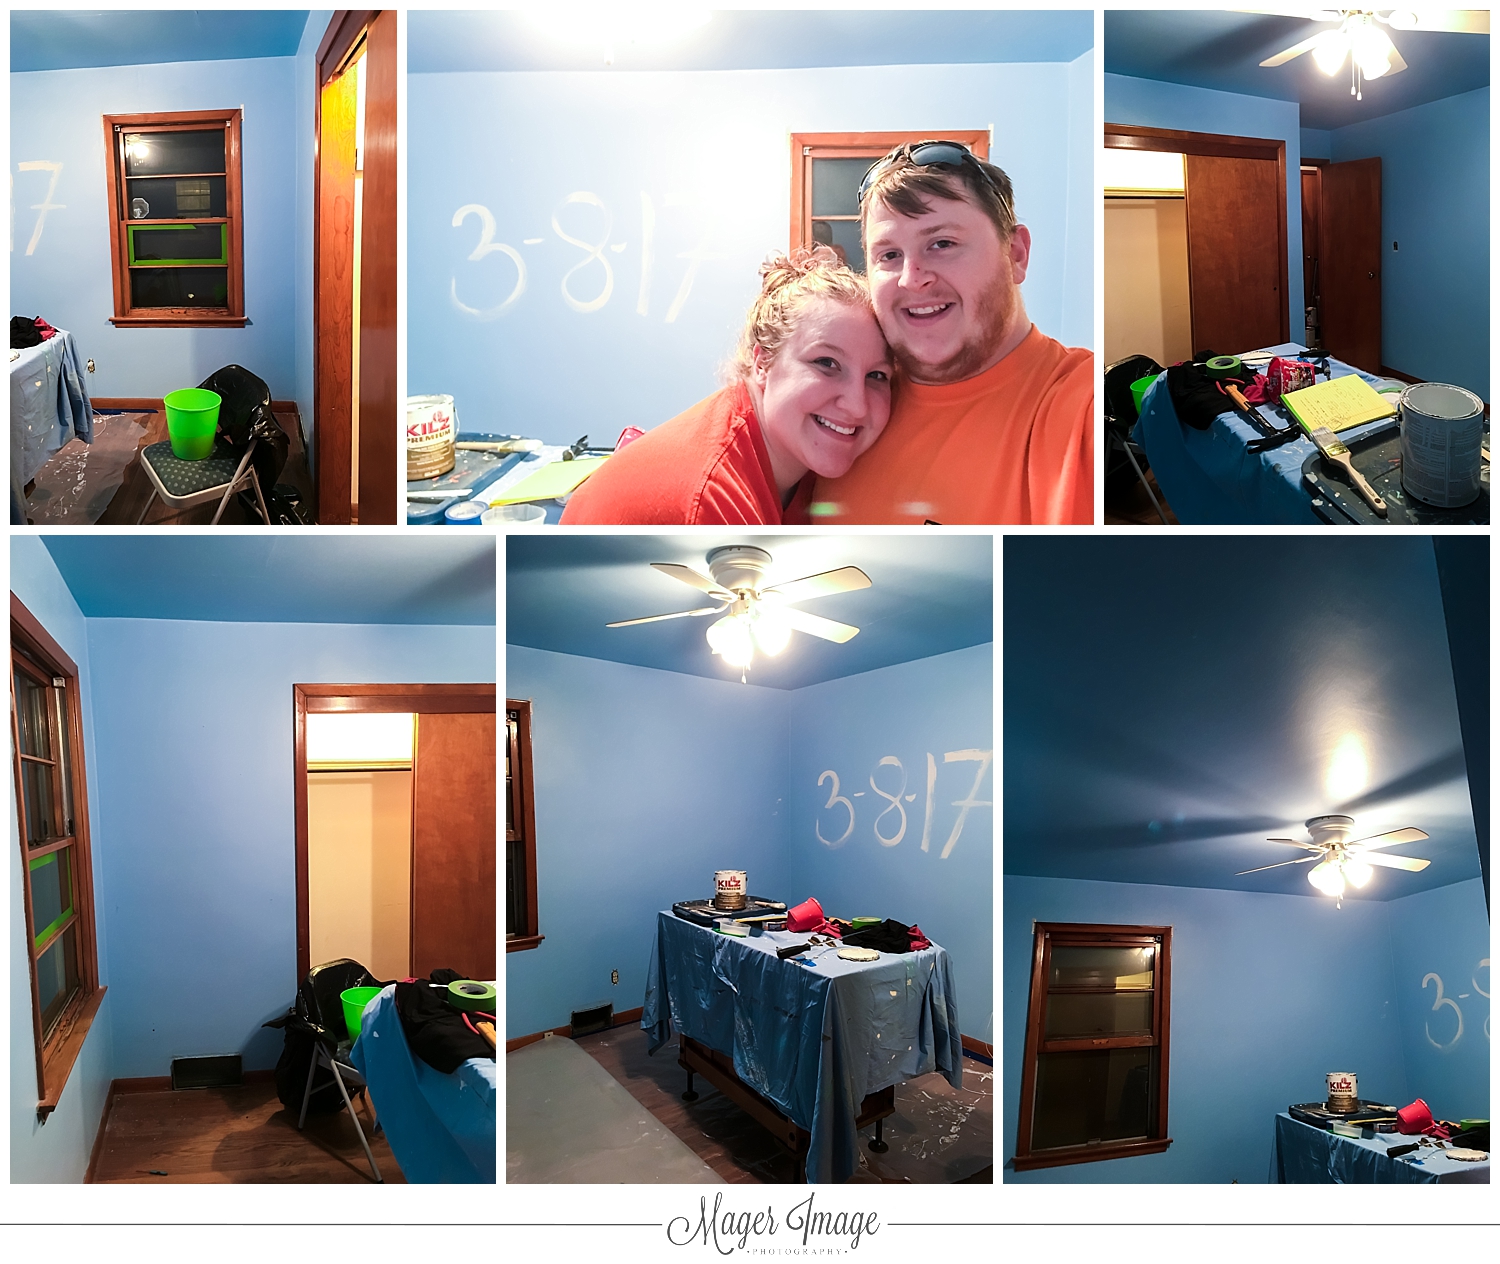
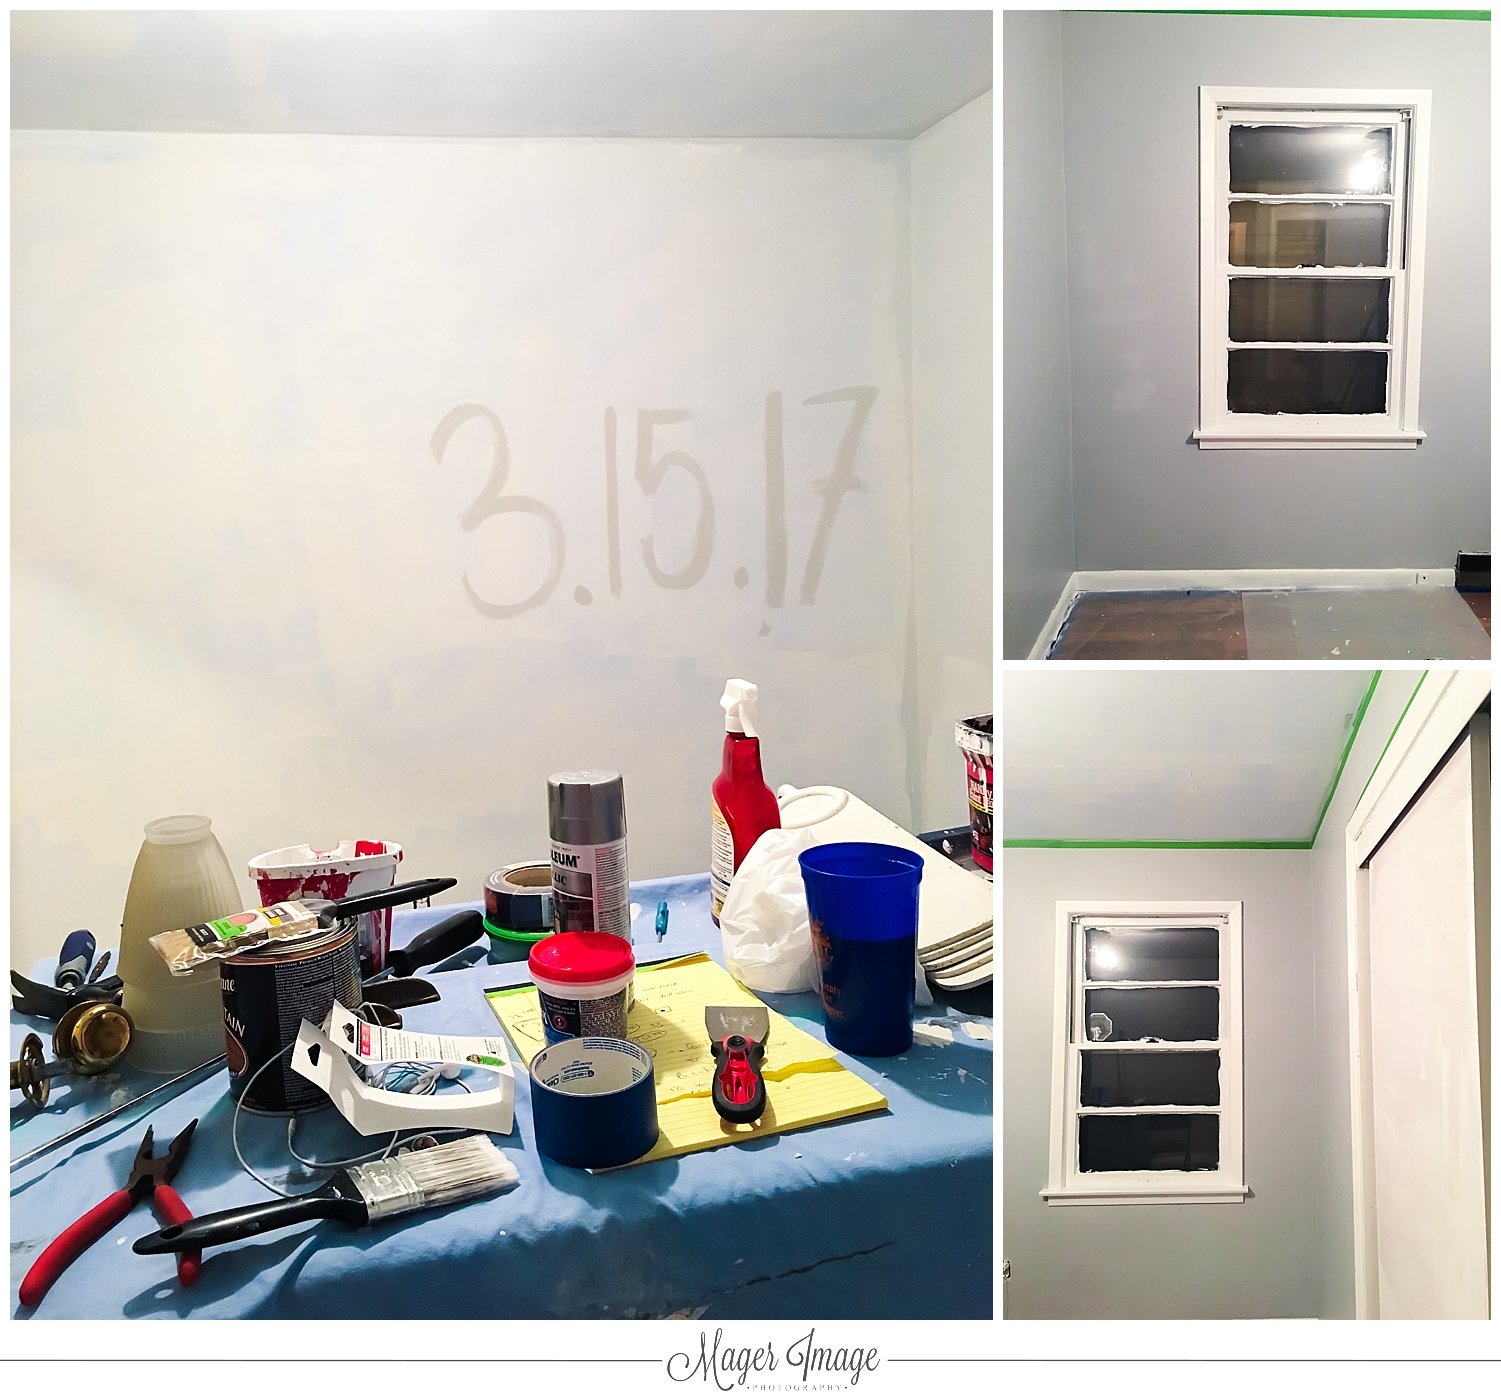
The room we started with was covered in baby blue paint, literally floor to ceiling! Taking off the wallpaper was a must, but luckily it was just a top border, so it didn’t take much time. I had never removed wallpaper before, so Brandon headed in to our local Paxton True Value to talk to the guys. He brought home a spray solution (Zinsser DIF Fast Acting Wallpaper Stripper) in hopes it would make things simple enough. Overall, it worked pretty well. I just sprayed on the solution, let it soak for a few minutes, then began to peel it off. It occasionally left behind a thin layer of paper, which I would spray again, soak, and then remove using a scraper tool. Scraping the sticky paper layer took some muscle (of which I have none) but after about two hours it was all off. NOTE: Before you paint or as you’re scraping, be sure to wipe down the areas you scraped, as the soaked wall paper scraps get sticky and stay on the walls like paper mache, which would not be good to paint over! Anyways, here’s what we started with!
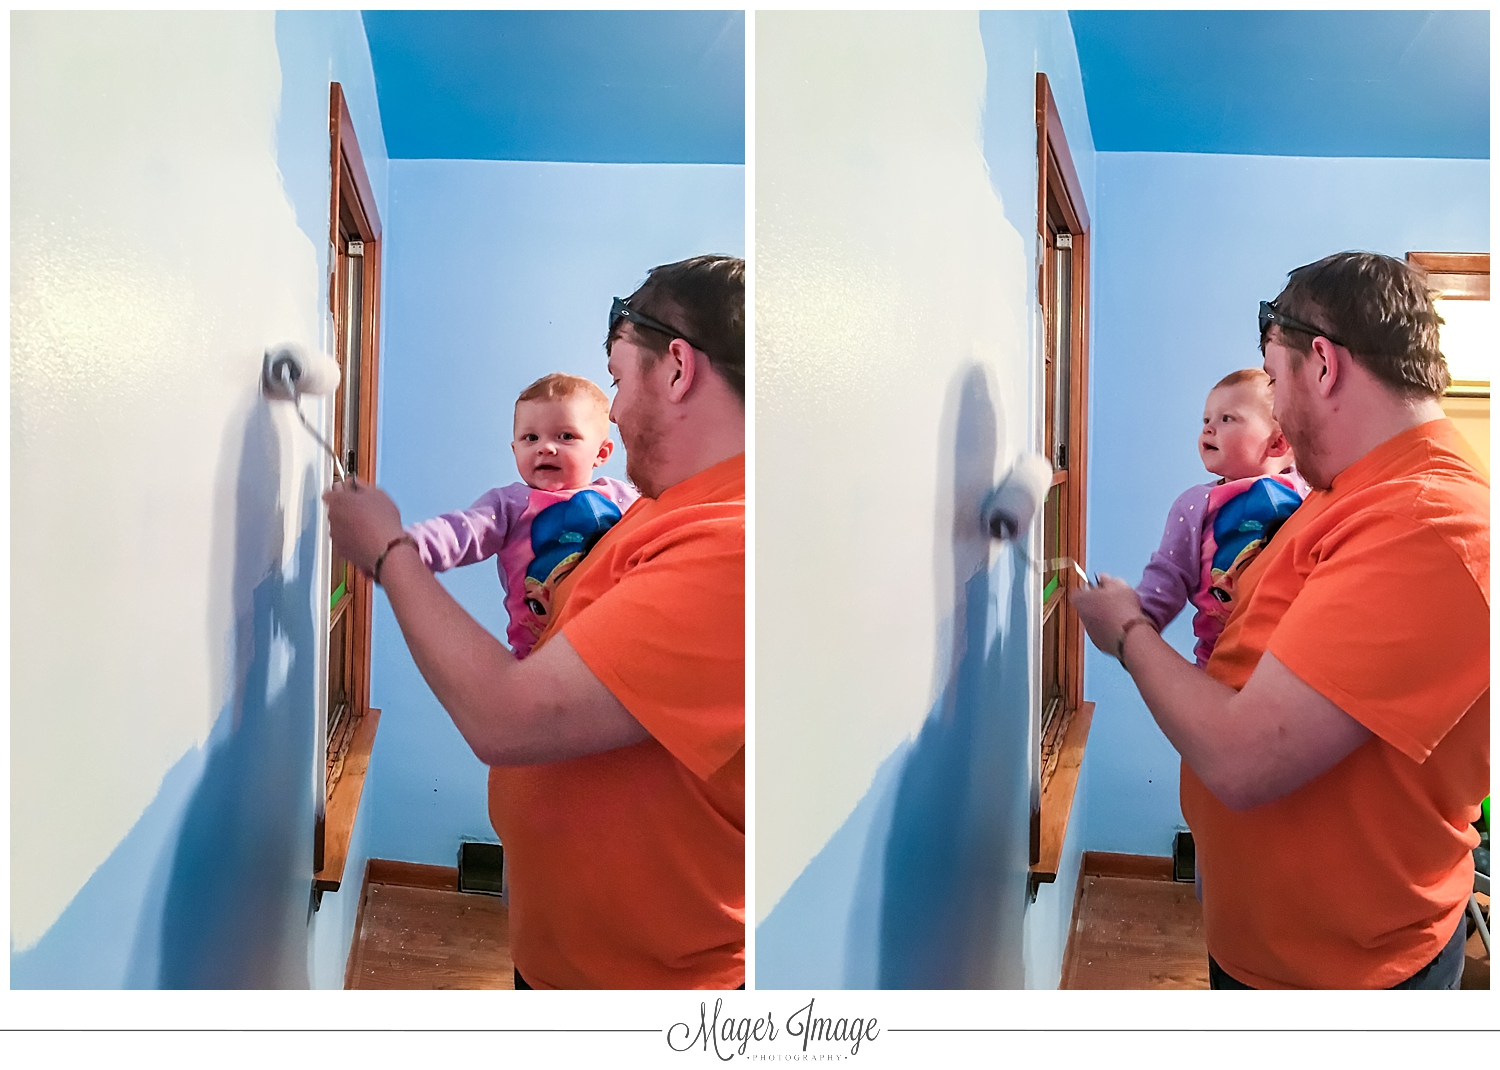
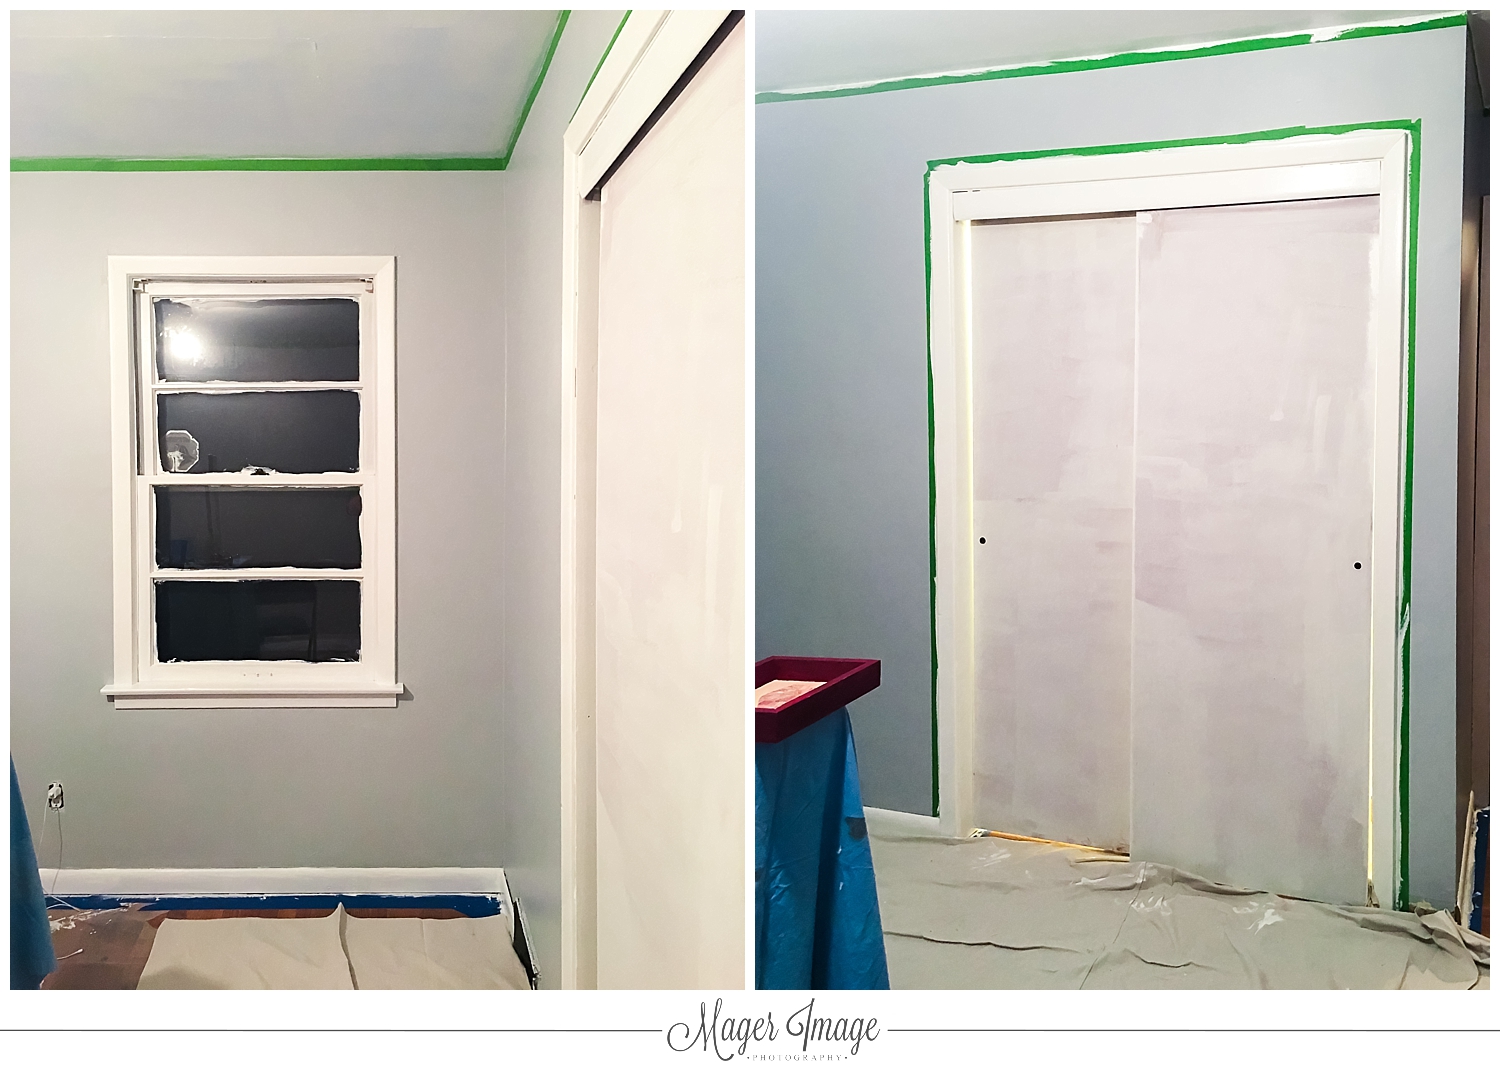
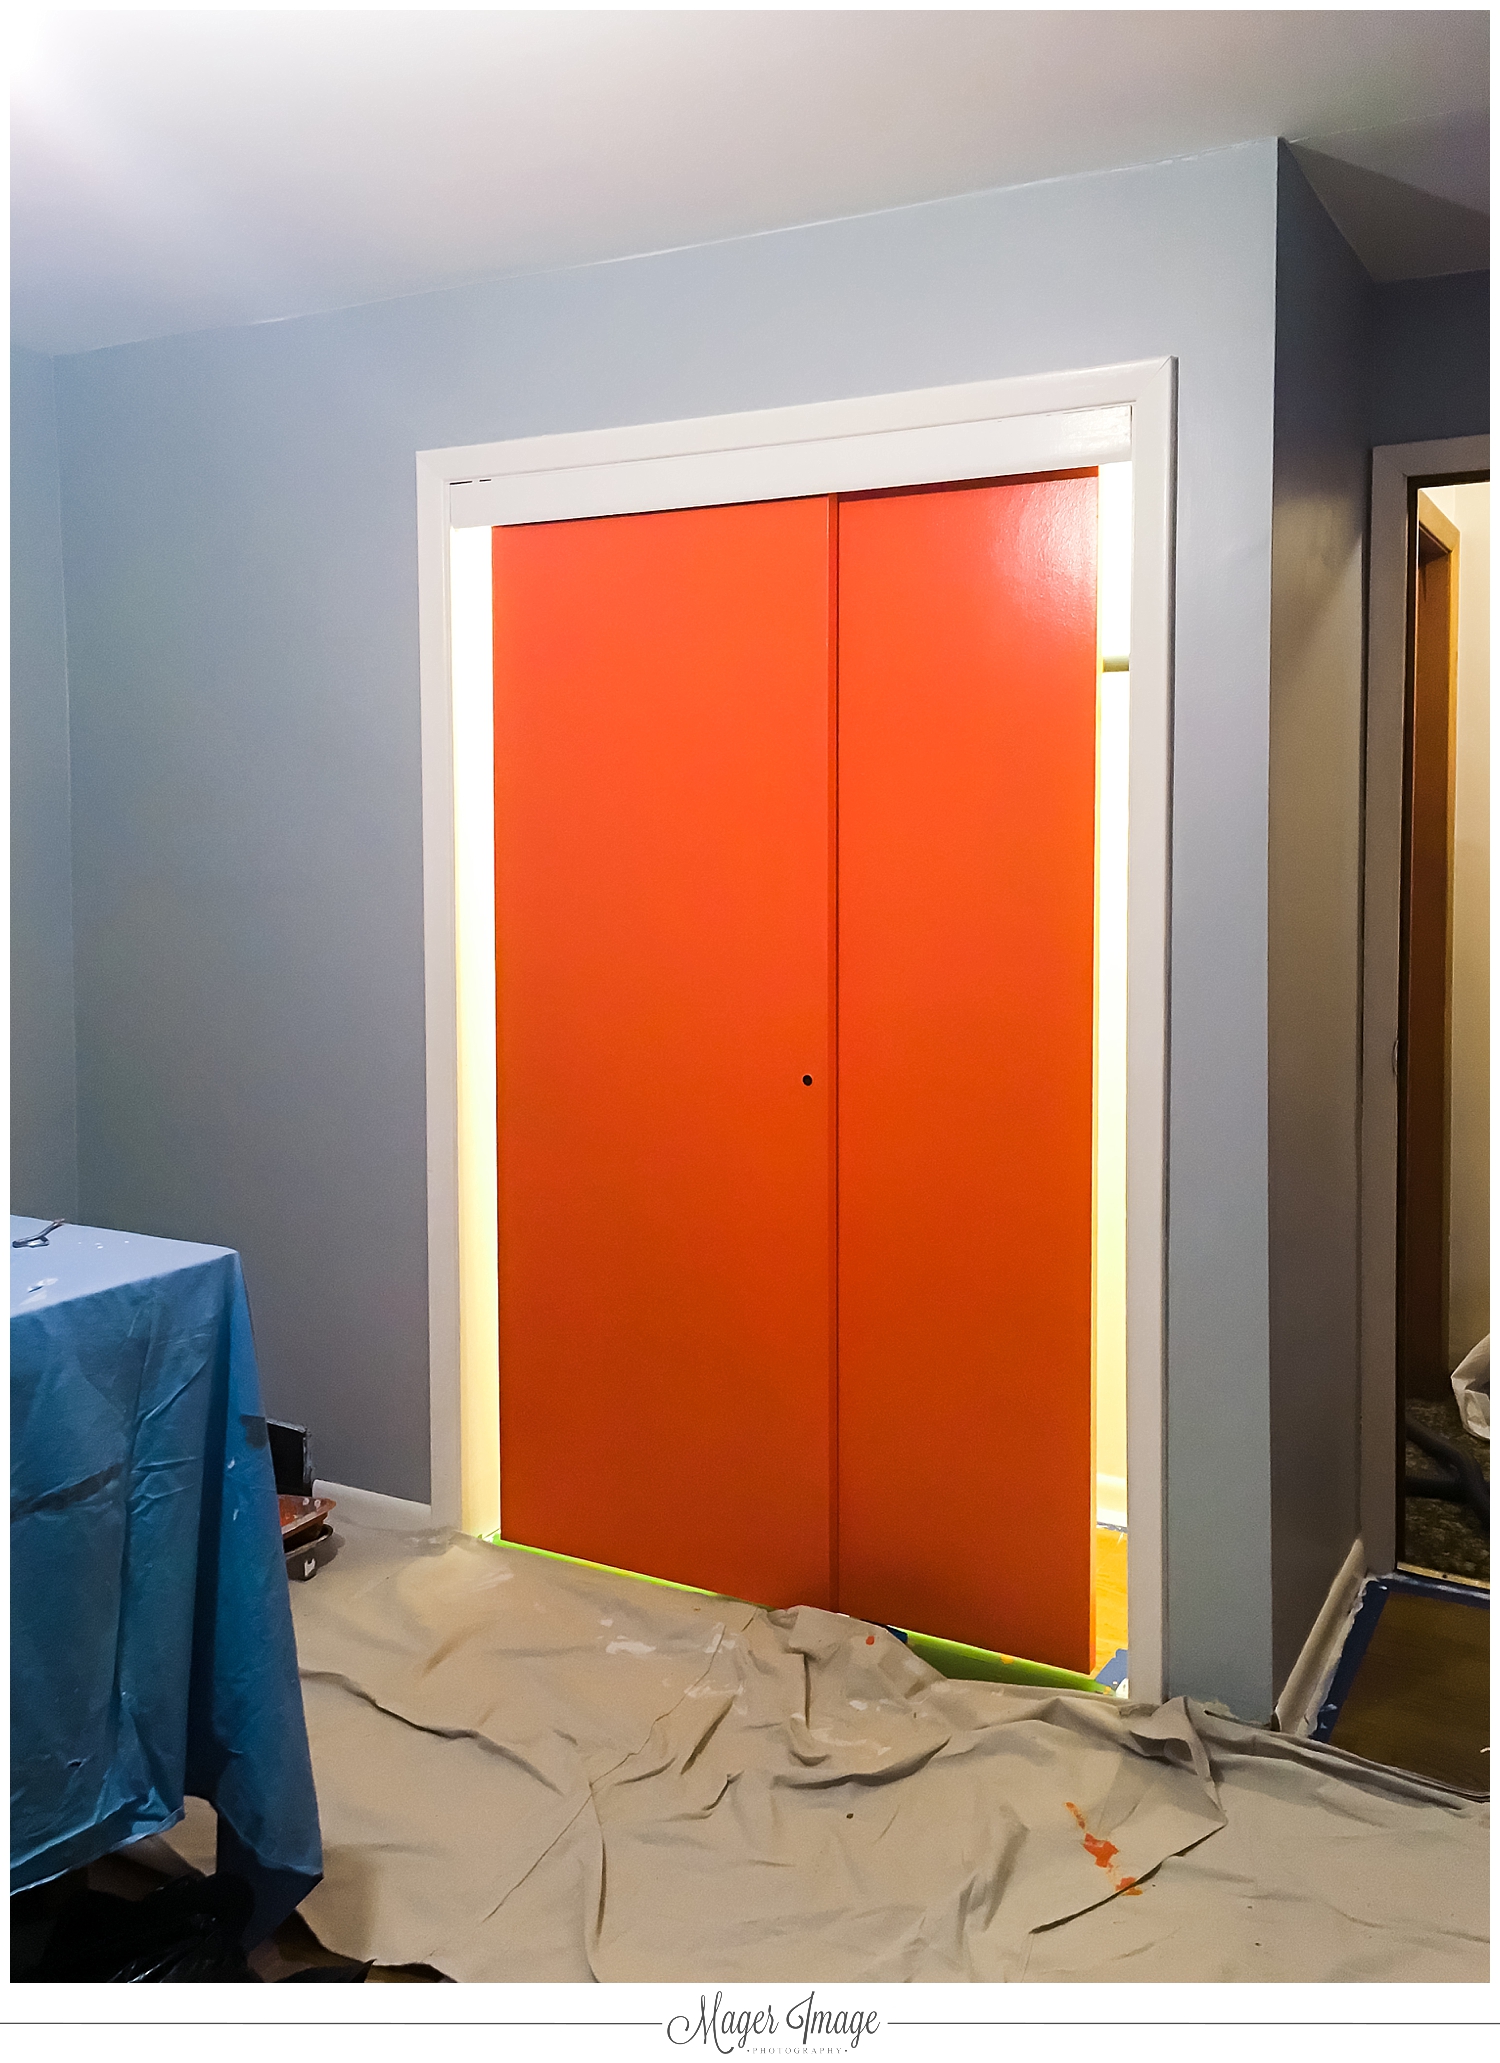
Now, on to paint! We used Glidden’s “Silver Reflections” paint color for the walls, which is a cool medium grey. I’m not sure on the name of the orange we used, but I went in to good ‘ole Paxton True Value, picked out the brightest and most vibrant orange swatch they had, and went with it! We also painted the trim white, which I think helps give it a nice clean contrast. We had to remove some of the trim in order to make painting easier, which isn’t done quite yet. We struggled on the ceiling for a moment. Do we go the easier route and paint the ceiling grey, or paint it white for later, down the line painting? Ultimately, we decided on white, as I’m often changing my mind on paint colors, and white goes with everything, so we took the harder route now to save us in the future! For those wondering, the walls and ceiling are in an eggshell finish, while the doors and trim are a gloss. Her room in the new house is much bigger than what she’s in now, so I’m excited to move her furniture in and fill the space!

We’re not completely done with her room just yet, (although there are some things done – just not photographed) but here’s our full list for Bexley’s room:
To Do:
Remove wallpaperDisassemble ceiling fan to clean/paint aroundPrime Walls/CeilingPaint WallsPaint trim whitePaint closet doors orange- Paint removed trim
- Reinstall trim
Clean paint off window panes (remember to TAPE next time!)Reassemble ceiling fan- Move in!
So that’s it! It’s the only room currently more that 90% complete and move-in ready, though the office is in progress (I’ll do an update on that soon!) and am still promising you a full house tour (with higher quality photos than the iPhone shots in this post) soon! Have you ever removed wallpaper? What methods did you find worked best?
